
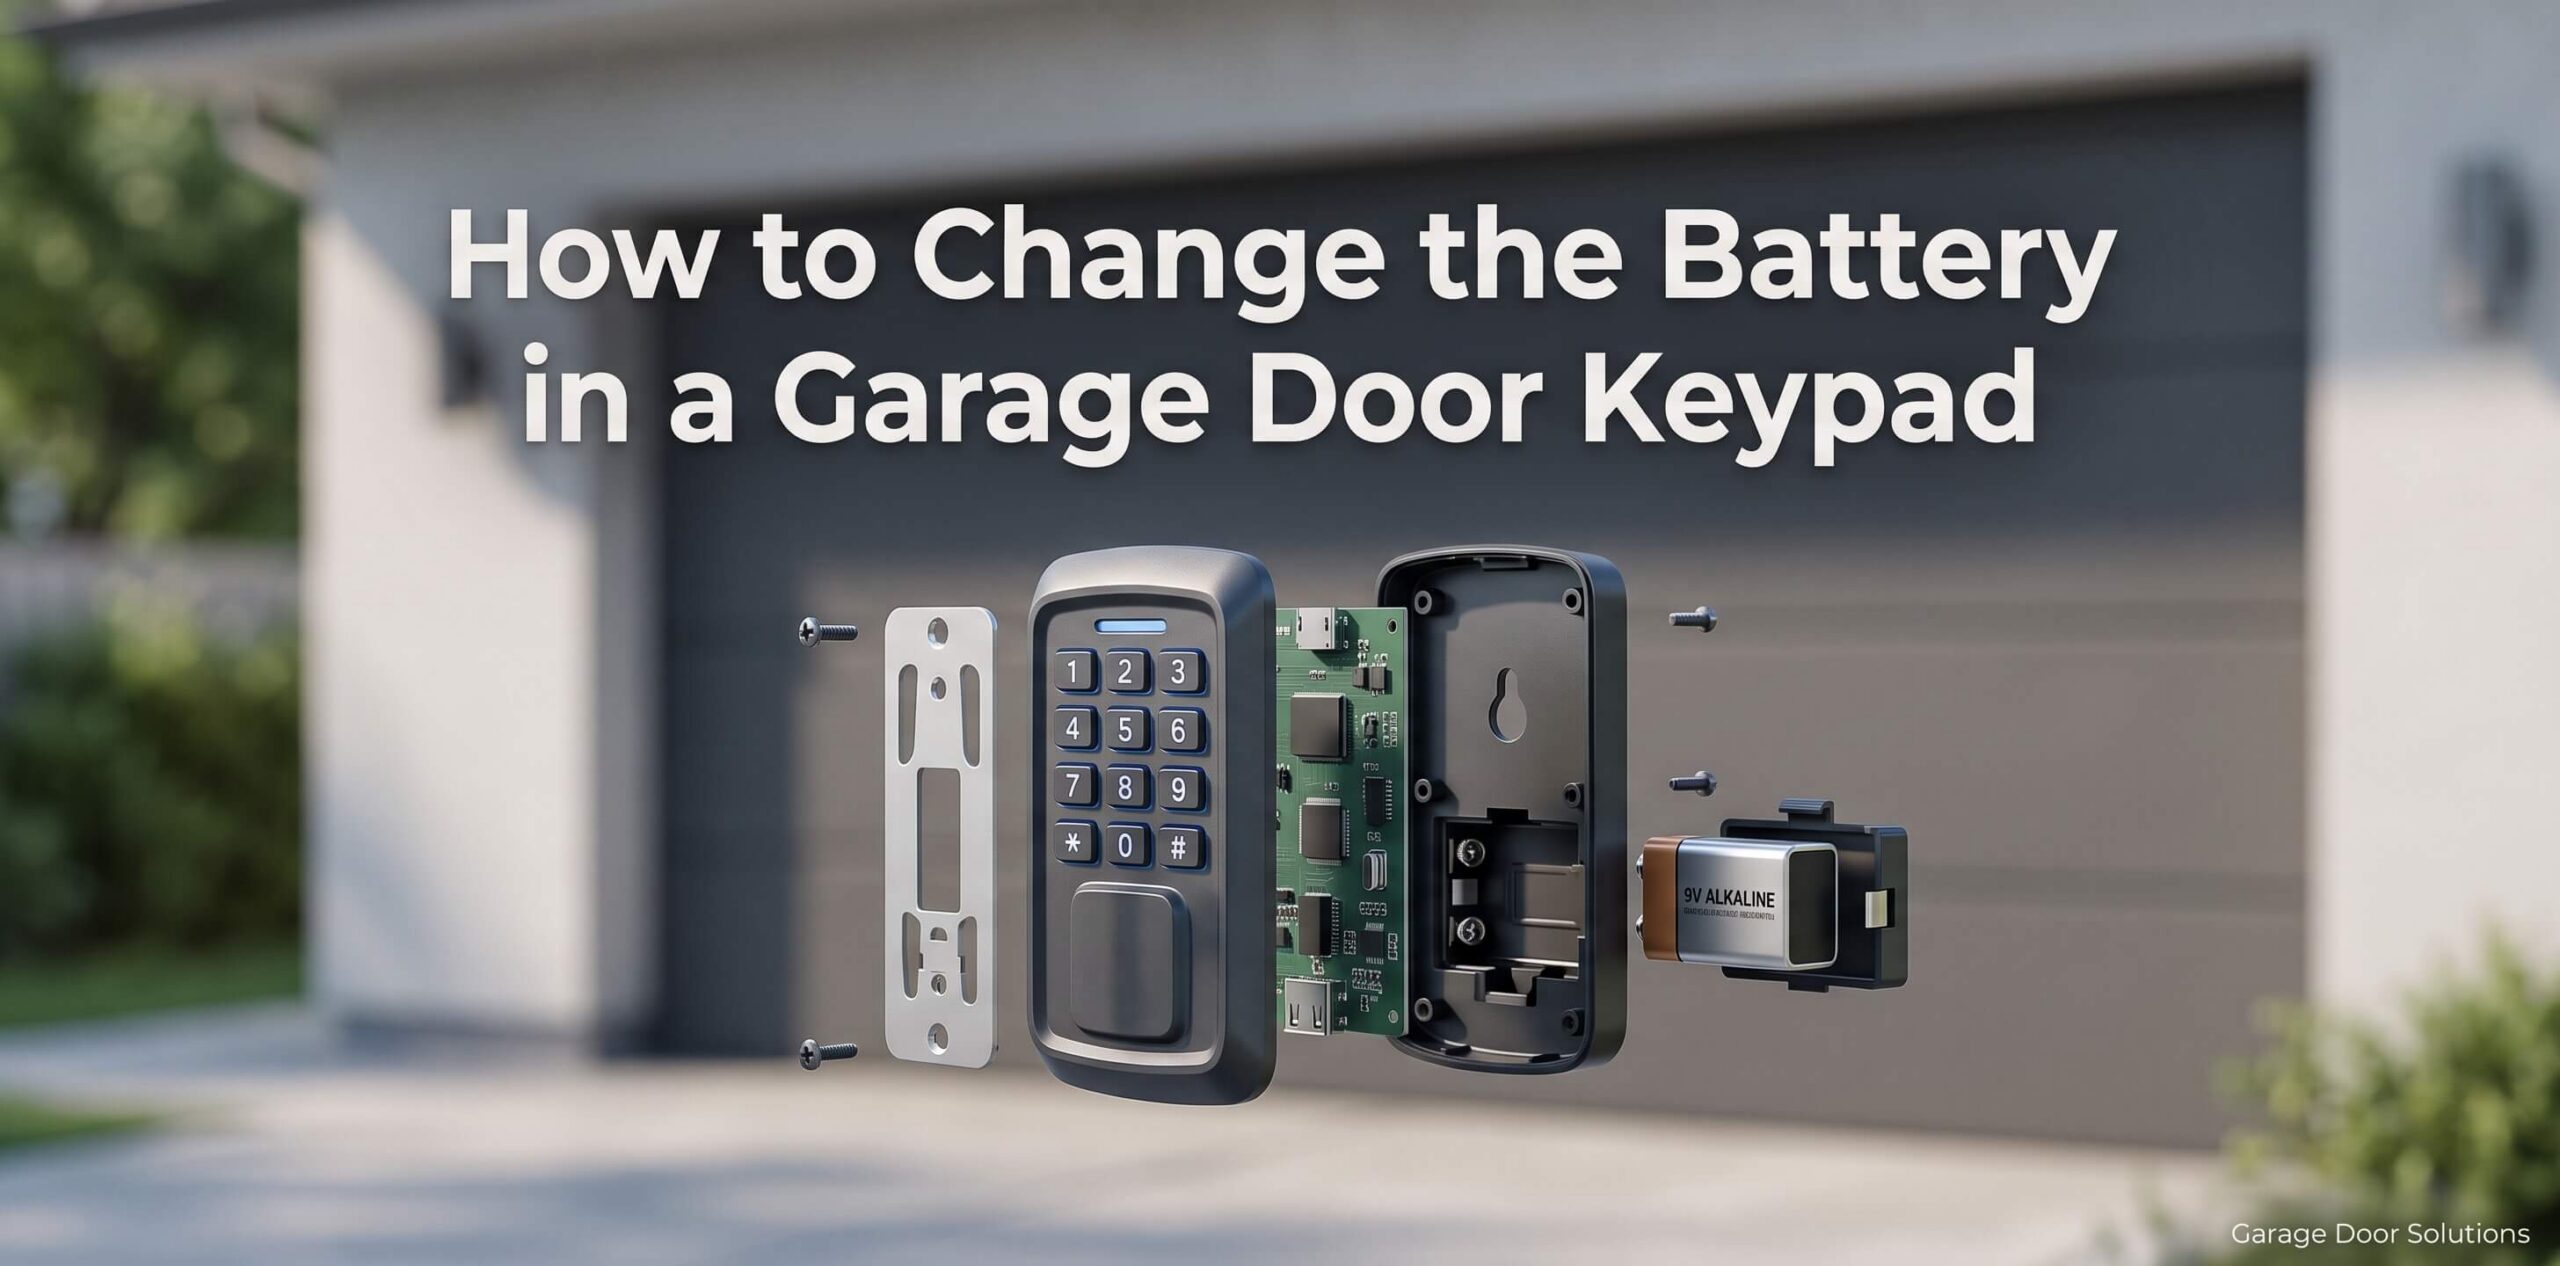
A garage door opener keypad offers secure, convenient access to your garage. But when the battery gets weak, that convenience quickly turns into frustration. The keypad may not work properly. You might notice missed button presses, slow responses or the keypad may stop working completely. These are clear signs that it is time to replace the battery.
Fortunately, replacing the battery in a garage door keypad is a simple task. It only takes a few minutes and does not require any special tools.
In this article, our team will guide you how to change the batteries in a garage door opener keypad.
Tools You’ll Need
Before you start, it’s best to have a few basic tools ready:
- A flathead screwdriver (if needed)
- A new battery (usually a 9V battery or coin-cell battery, depending on your keypad model)
- A clean cloth (to clean away any dust or corrosion)
Make sure you check which type of battery your keypad needs. Most garage door keypads use either a 9V battery or a coin-cell battery, such as a CR2032. If your keypad is exposed to weather, it may be sealed more tightly, so open and handle it carefully.
Step-by-Step Guide: How to Change the Battery in a Garage Door Opener Keypad
Changing the battery in your garage door keypad is easy and usually takes only a few minutes. Follow these steps to get your keypad working properly again.
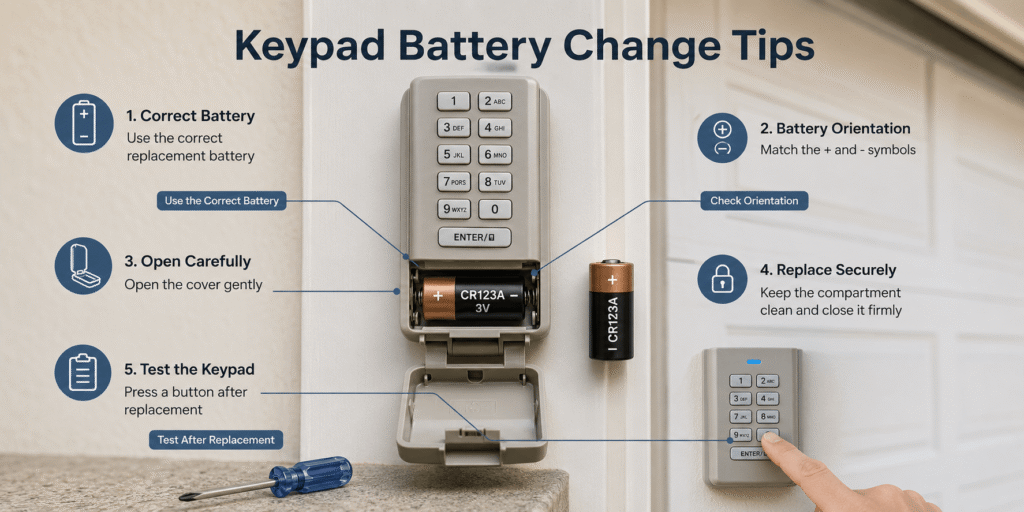
Step 1 – Open the Front Cover
First, you need to reach the battery compartment. Depending on your keypad model, you may need to lift the faceplate or slide the front cover upward.
If the cover is hard to open, use a flathead screwdriver to gently loosen it. Be careful not to use too much force, as this could damage the keypad.
Step 2 – Check for Rear Access
Some keypads need to be removed from the wall before you can reach the battery compartment. If this is the case, look for a release tab or mounting screws, usually found at the bottom or back of the keypad. Carefully remove the keypad from the wall. Once it is off, you should be able to reach the battery compartment.
Step 3 – Locate the Battery Compartment
Once you open the front cover or remove the keypad from the wall, find the battery compartment. In most cases, you will see a plastic compartment or a snap-in battery terminal.
Some models may have another cover or panel inside the keypad that you need to remove to reach the battery compartment fully.
Step 4 – Remove the Old Battery
Next, carefully remove the old battery. If it is a 9V battery, gently pull it out of the terminal. If it is a coin-cell battery, slide it out of its compartment.
While removing the battery, notice how it is placed. Check which side is positive and which is negative so you can put the new battery in the correct position.
Step 5 – Inspect the Contacts
Before putting in the new battery, check the battery terminals inside the keypad for any dust, dirt or corrosion.
If needed, gently clean the contacts with a clean cloth or pencil eraser. This helps the battery connect properly and can prevent problems later.
Step 6 – Insert the New Battery
Now, it’s time to install the new battery. Use a fresh, matching battery, either a 9V or coin-cell battery, depending on your keypad model.
Align the new battery with the correct polarity, making sure the positive and negative ends match the corresponding terminals inside the keypad. Insert the battery firmly into place and make sure it is properly secured.
Step 7 – Close the Battery Compartment and Reattach the Keypad
Once the new battery is in place, close the battery compartment securely. If you removed the keypad from the wall, now is the time to attach it again.
Make sure the keypad locks into place and sits flat against the wall. If you removed any covers or panels, make sure they are properly snapped back into place.
Step 8 – Test the Keypad
Finally, test the keypad. Press a few buttons and enter your access code. If the keypad is working properly, it should light up or make a clicking sound when you press the buttons.
If the keypad responds as it should, you have successfully changed the battery. If there is no response, check the battery position again and make sure it is installed correctly.
If the keypad still does not work, there may be a problem with the unit itself and you may need help from a garage door expert.
How Often Should You Change the Battery in Your Garage Door Keypad?
How often you need to change the battery in your garage door keypad depends on things like how often you use it and how much it is exposed to the weather. Most keypads need a new battery every 1 to 2 years. However, outdoor keypads or units that are used more often may need a battery change sooner.
If you notice slow responses, missed entries or dim backlighting, it usually means the battery is getting weak and needs to be replaced. It is also a good idea to change the battery before winter, as cold weather can drain the battery faster.
Troubleshooting After Battery Replacement
If your keypad still does not work after replacing the battery, there may be a problem with the unit itself. Start by checking the wiring and make sure the contacts are clean and properly connected.
Sometimes, a weak or unstable signal between the keypad and the garage door opener can also cause problems. If checking the opener keypad does not fix the issue, you may need to call a professional for repairs.
Keeping Your Garage Door Keypad Working Properly
Changing the battery in your garage door opener keypad does not have to be difficult. With a few simple steps, you can get the keypad working properly again and make sure your garage door opener works as expected. Regular battery changes and basic maintenance can also help prevent unexpected problems and keep your home secure.
Having Trouble with Your Garage Door Opener Keypad?
Contact Garage Door Solutions Company today for help with repairs or maintenance to keep your garage door system working smoothly.